Alright, ladies and gents, today’s post is all about studio lighting! I can’t speak to Anne’s experiences, but I took a couple of digital photography classes in college where we learned the basics of studio lighting. And now I’m here to pass the savings on to you! I mean the knowledge. I’m going to pass the knowledge on to you.
Sort of in hand with the previous post about high key and low key lighting, there’s a few names to the quality of light being used. Soft light is exactly how it sounds it would be. There are little to no harsh shadows or highlights and the contrast is not too sharp, either. Hard light is the opposite. It’s high contrast with harsh shadowing and harsh highlights. See the examples below.

Model: Darien. Shot with a Nikon D5100. No editing. Soft light.

Model: Nick. Shot with a Nikon D5100. No editing. Hard light.
There’s also special terminology for where a light is coming from. Hint: the terms are super easy to remember. Front light comes from in front of the subject. Back light comes from behind the subject. Side light comes from – wait for it, this one’s a tricky one – the side of the subject. Tough, right? Below are some examples.
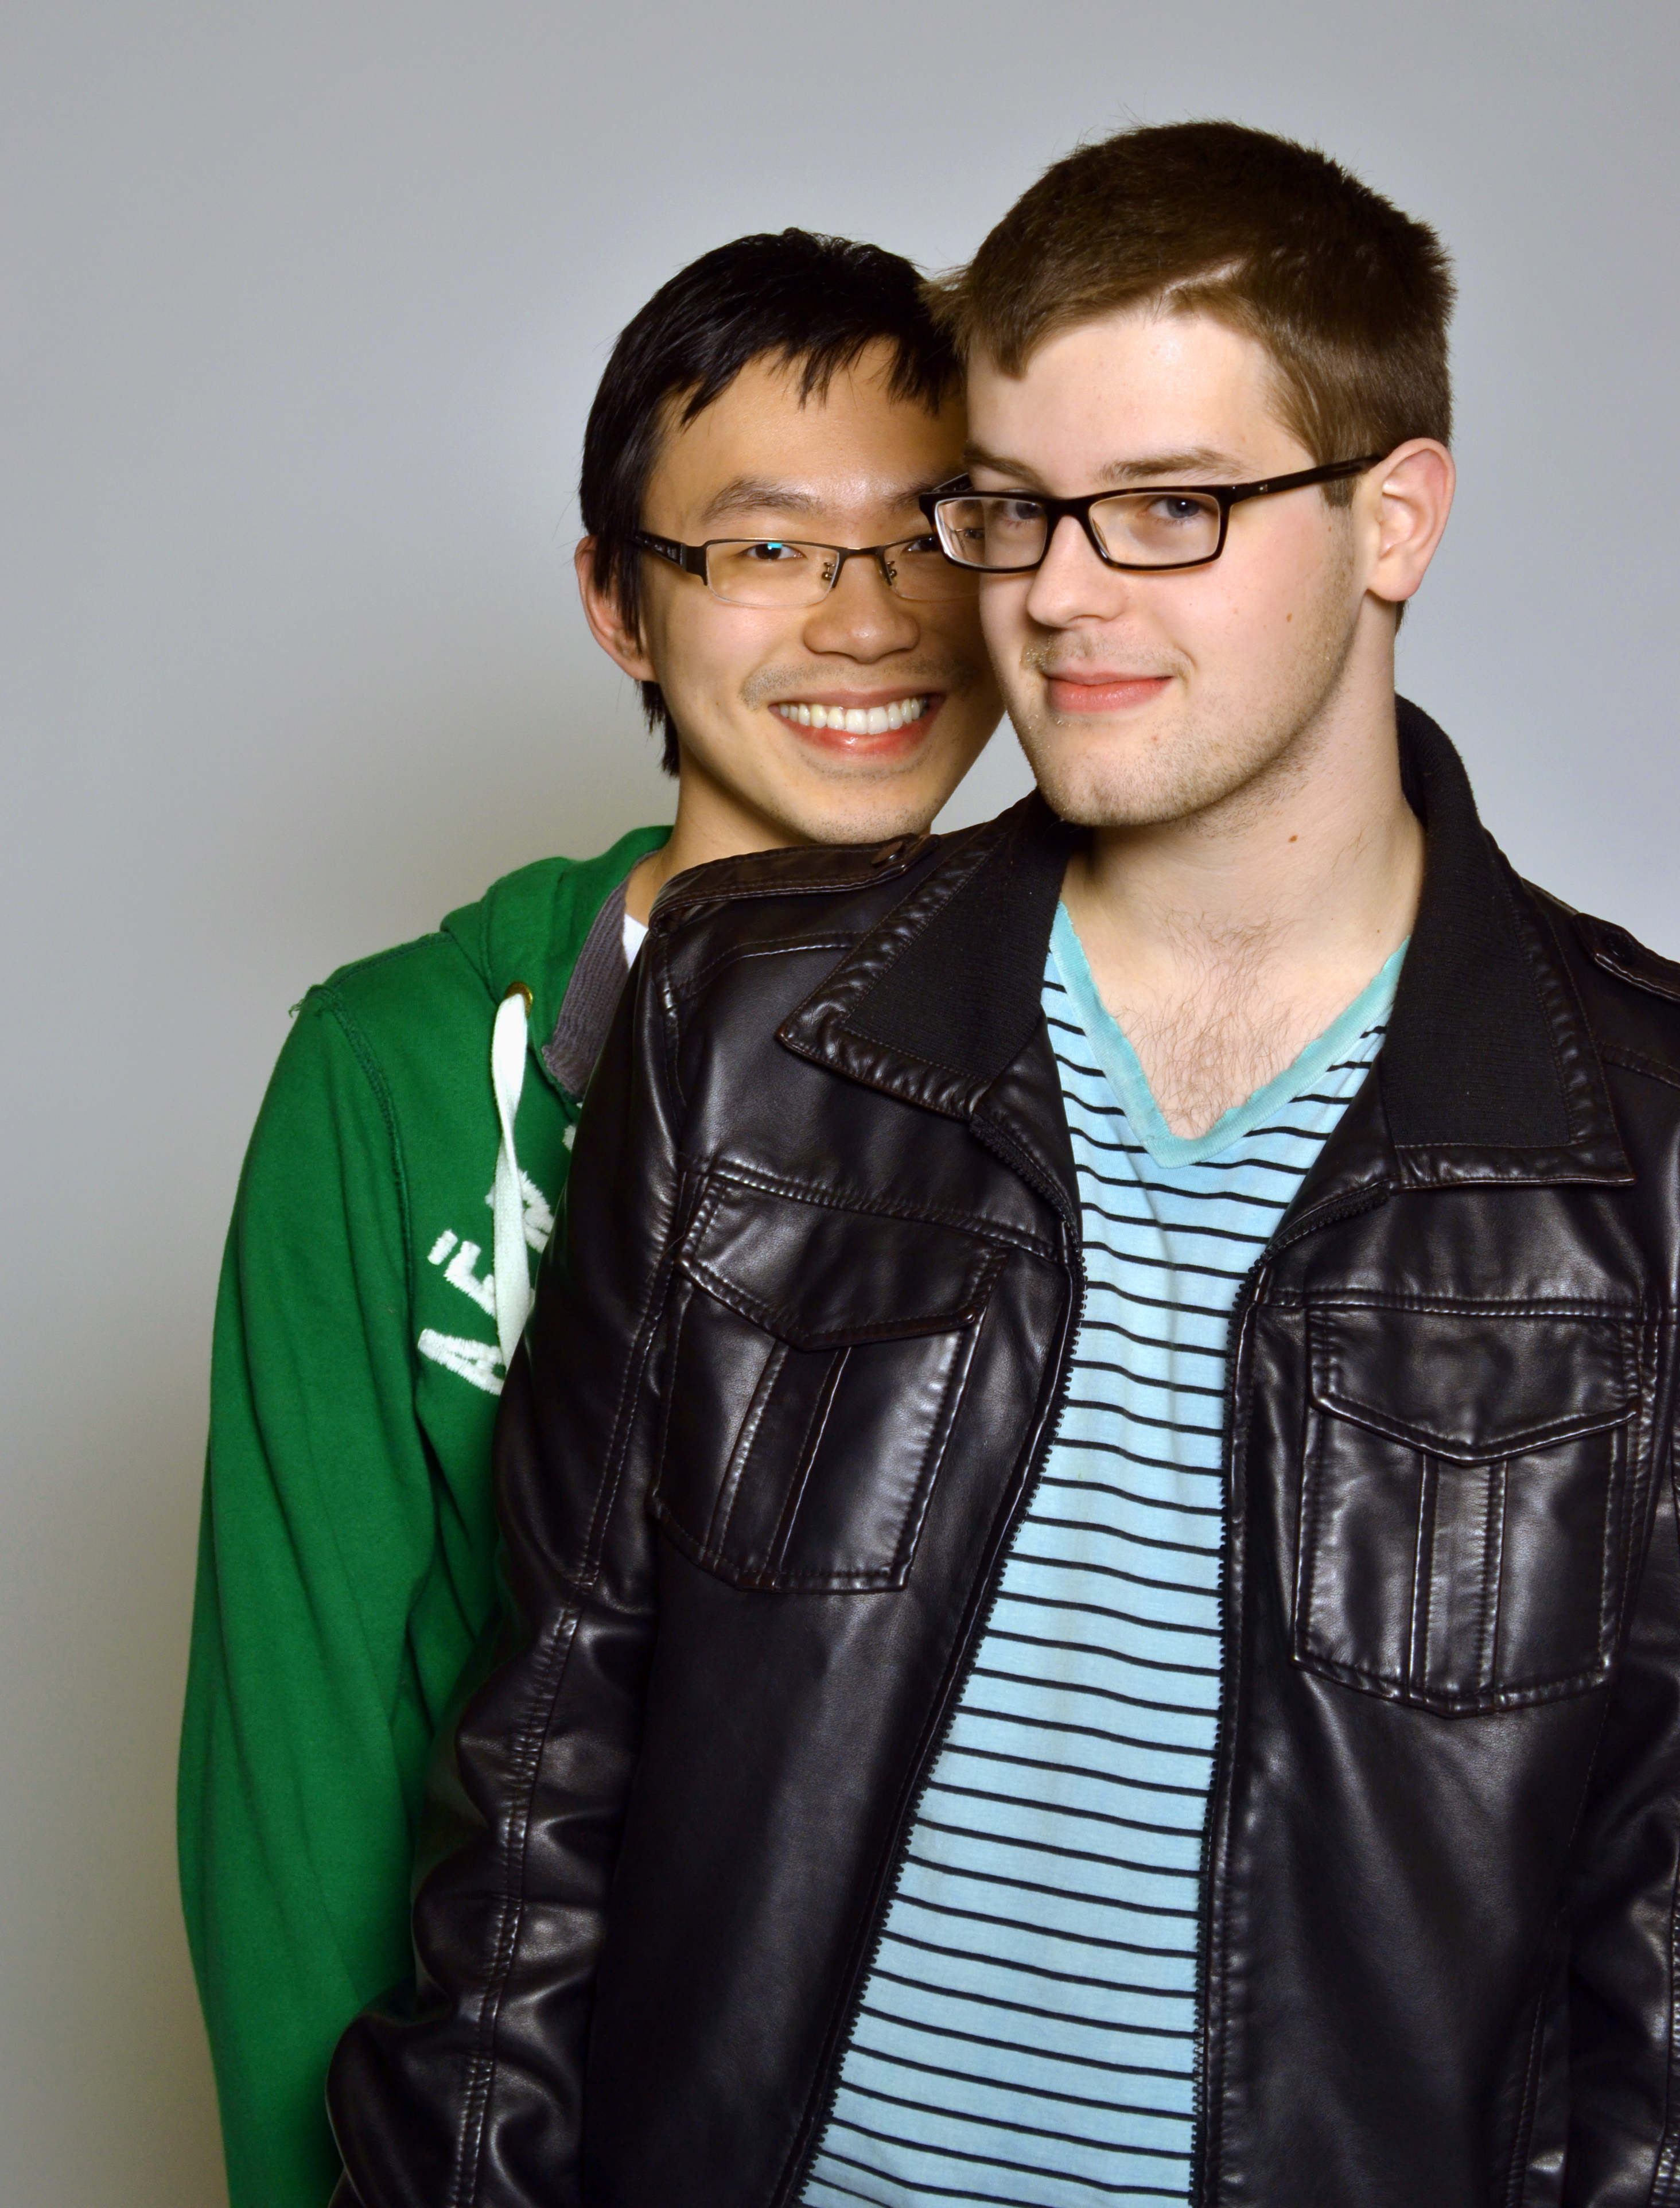
Models: Kevin and Daniel. Shot with a Nikon D5100. No editing. Front Lighting.

Shot with a Nikon D5100. No editing. Back Lighting.

Model: Me! Photographer: Ryan Edner. Unsure camera make/model. Unsure about editing.
As you can see with some of the above shots, it’s fun to play around with colored lighting. While I style myself as a natural light photographer, sometimes it’s nice to be able to control my light source. Adding interesting colors without the use of photoshop is also very nice. I would highly suggest renting studio lighting or coming up with a rig of your own if you’re attempting more complex and abstract photography ideas. Product photos are also better done in some sort of studio setting. Or, at the very least, with controlled lighting.
The one downside I can see to studio lighting is that if you’re working with a inexperienced models, being in such an intense setting might make them uneasy and hard to get any good pictures until the model relaxes. It really helps if you can joke around and make your models feel comfortable in their settings. But that’s a trick for an entirely different post.
Now get out there and shoot!
-Kate
